Tuesday, June 21, 2011

DIY: Iced Coffee Without Breaking the Bank

I love iced coffee. In fact, I don't think the word "love" is strong enough. If I had to pick only one thing to drink for the rest of my life, it would be iced coffee. That's how serious our relationship is. But what I don't love is how much it costs at Starbucks or any of the local coffee shops. I mean, it's just coffee and milk, people. Why in the world does it need to cost me 8 bucks?!

I don't know why it never occurred to me to make my own. But recently, I was going through The Pioneer Woman's blog and found her recipe for iced coffee. I knew I had to try it. Of course, I also thought there'd be an easier (read: quicker) way to get to my coffee love without having to wait for it to steep for 8 hours. So I played around and discovered I could have my coffee and drink it too (ha!) in less than 2 hours.

What you will need:

  • Ground coffee of your choosing
  • Half and Half (or milk or soy)
  • Sugar
  • Ice cubes
Make a pot of coffee like you normally would, but double the amount of ground coffee you use. You don't want your coffee taste to get completely bogged down by the Half and Half or any ice that melts in your glass. I have a little coffee pot that only holds 5 cups, so I used 8 tablespoons of ground coffee.

Once your pot is made, put the amount of sugar in it that you want. Do this while the coffee is hot so that the sugar fully dissolves. In my little pot, I put 1/2 a cup. You can play around with this until you get the sweetness you want. Just remember, the Half and Half is going to sweeten it, too, so you want your coffee to be somewhat bitter on its own! Now, put your pot in the refrigerator until it cools. If you are super impatient like me, you can put it in the freezer. Just make sure you don't forget about it.

When your coffee has cooled off and started to chill, it's ready to go in the glass. Put in a couple of ice cubes and then add your coffee. The amount of coffee you put in your glass is up to you. If you like strong coffee, put more coffee than Half and Half. I do a 3.1 ratio. So 3/4 of my glass is filled with coffee and 1/4 of my glass is filled with Half and Half. Stir it until it mixes completely and Enjoy!

(My husband likes less of the coffee flavor, so he gets more Half and Half. That's why his glass, on the left, is lighter.)

And now for dishwasher soap

Last week, I made laundry detergent, which has worked fantastically. Today, when I went to grocery store, I took great pride in not having to buy ridiculously priced detergent. I was maybe even kind of snooty about it, which I probably shouldn't be proud of but am.

I got even snootier when I picked up the ingredients for my dishwasher soap. I'm trying it out now, but I have high hopes for it.

You will need:

  • 1 cup borax
  • 1 cup washing soda
  • 1 cup lemi-shine
  • 1/2 cup coarse kosher salt
Mix all together and store in a closed container. You only need one tbsp per dish load. Pretty fantastic, eh?!

(Ignore the oxi-clean in the photo, please.)

EDIT: As you can see in the photo above, I stored my mixture in a tin can. DO NOT DO THIS! Something in the metal activates something in the mixture and turns it rock hard. I remade this, stored it in a mason jar, and found it works great!

Monday, June 13, 2011

Stop Wasting Your Money on Laundry Detergent!

Being a teacher means that I have my summers off. It also means that we have to really pinch our pennies. So I've been cracking down on our spending. One way to really crack down...like REALLY crack down...is to make my own laundry detergent. When I first heard about this, I though, "Meh. It can't be that much different." But oh my gah, it so is.


What you will need:
  • A bar of Fels Naptha soap (found on the laundry aisle and roughly $1.)
  • A box of Borax (also found on the laundry aisle and roughly $3.50.)
  • A box of Arm & Hammer Super Washing Soda (Make sure you get Washing soda and not baking soda. Also found on the laundry aisle and roughly $3.)
  • A container of powdered Oxy Clean (This isn't required, but I use it because it makes my whites whiter and helps fight stains. You can get a small container because you will only need 1/4 cup per batch. This is also found on the laundry aisle and is roughly $2.50.)

How to make your detergent:

  1. Grate your bar of Fels Naptha. You can use your cheese grater for this. I use the parmesan side to make the gratings small.
  2. In a bowl, mix your grated soap, 1 cup of Borax, 1 cup of Washing Soda, and 1/4 cup of Oxy Clean.
Super simple right? It gets better. You only need 2 tablespoons of this mixture to wash a full load of laundry. 2 TABLESPOONS! I read somewhere that store bought detergent has a ratio of $9/30 loads, but this one has a ratio of $9/300 loads. That is INSANE to me.

I made 2 batches at once and am storing it in a canister. 

Now, if you notice, there is a photo up there that includes a bottle of vinegar. If you add 1/4 cup of vinegar to your rinse cycle, it helps to completely rinse the soap out of your clothes before they go in the dryer. And, don't worry, your clothes won't smell like vinegar. (The vinegar trick isn't just for this detergent. Use it for store bought detergent too.)

Now, go and be clean, cheap, and green!

Saturday, June 11, 2011

It's Barbeque Time

Being from the south means it is ingrained in my DNA that I love BBQ. The south is riddled with BBQ joints that serve up BBQ, squash casserole, lima beans, corn bread, mac and cheese, and every other kind of comfort food there is. And we flock to these places, especially after church.

But you know what's even better? Making a big batch of bbq that can feed your family all week long if need be. Oh, and of course, you can also take it to family functions...that is if you're willing to share.

So, here's what you need:


  • 5 lb boneless pork butt shoulder
  • 1 1/2 tsp of smoked paprika
  • 2 tsp of pepper
  • 1 tsp of cayenne pepper
  • 1 tsp dried thyme
  • 1 tsp garlic salt
  • 1/2 tsp salt
  • 1 cup of water
  1. In a small bowl, combine all of the seasonings
  2. Place your pork butt in a slow cooker
  3. Rub the pork butt evenly with your seasoning
  4. Pour the cup of water into the bottom of the slow cooker
  5. Cook your pork butt on low heat for 8 hours
  6. Shred your bbq with a fork in a large bowl.
Now, you can eat it as is. And trust me when I say it's really good like that. But usually, I'll separate the bbq into two different containers, leaving one of them as is. With the other I mix in 1 cup of Uncle Yammy's Southern Style BBQ Sauce and 1 cup of Shealy's BBQ Sauce, both of which you can find at the grocery store. This is the BBQ we eat with grilled corn on the cob and fried potatoes. 


The epitome of a southern summer meal!

Thursday, June 9, 2011

Honey Cowl

I recently stumbled across a free pattern for a Honey Cowl over at madelinetosh. So I decided to give it a whirl. I made the smaller of the sizes (110 sts instead of 220) and I halved the width because I don't want 11 inches wrapped around my neck during the winter. That's more to do with my hot naturedness than anything else.

This was the first time I actually knitted in the round. Usually I knit and then join. Working in the round makes the project so much easier and streamlined. I won't do the joining thing again.

The only thing I don't like about the cowl is the size of the yarn. I used a Wool Ease yard and now I realize it is entirely too thick for the pattern to be really defined. When I decide to make 220 sts cowl, I'll go with a different yarn.

Wednesday, June 8, 2011

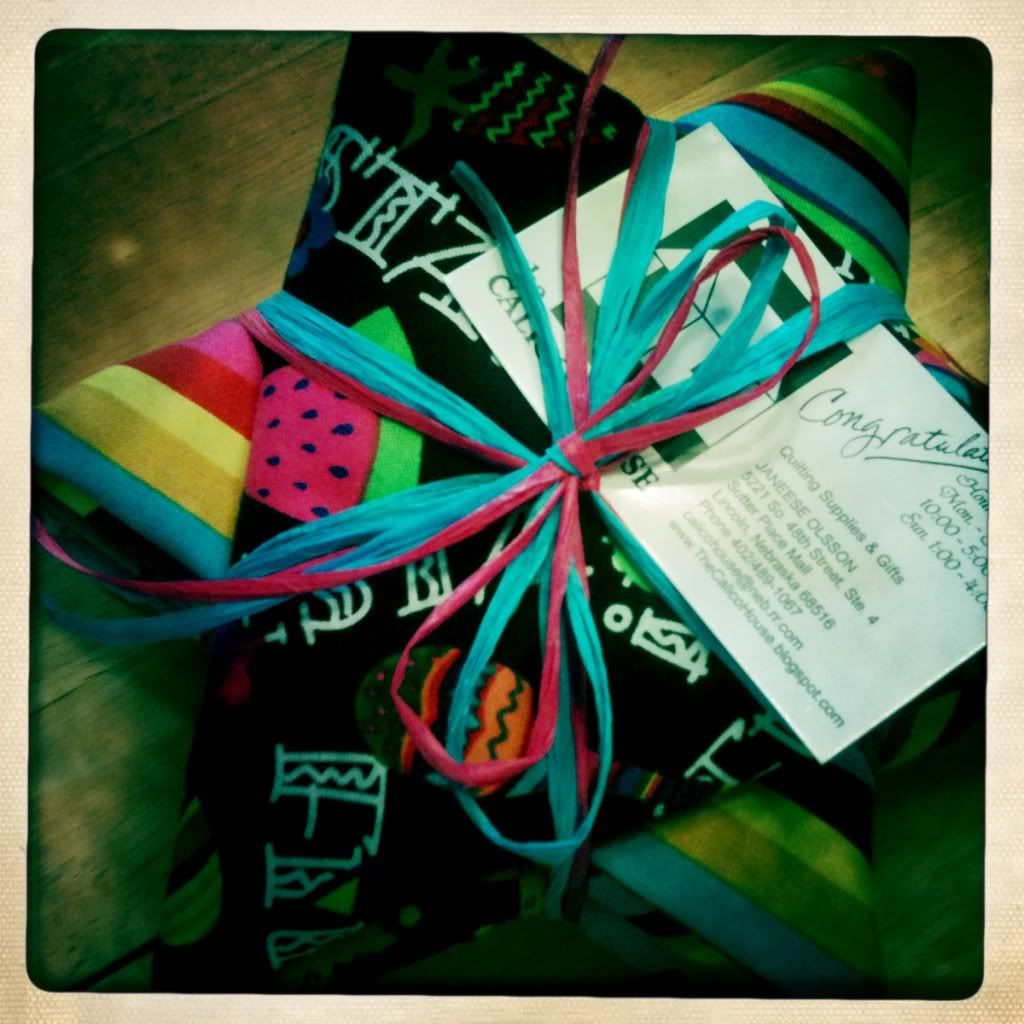
My New Material Arrived

A few weeks back, I entered a fabric giveaway over at Punk Projects. And surprisingly enough, I won! My fabric came while I was out of town this weekend. I love it! And I kind of don't want to un-"star" it because it's so cute.

Hmmm...wonder what I should make first?


Thursday, June 2, 2011

It really is the easiest skirt ever.

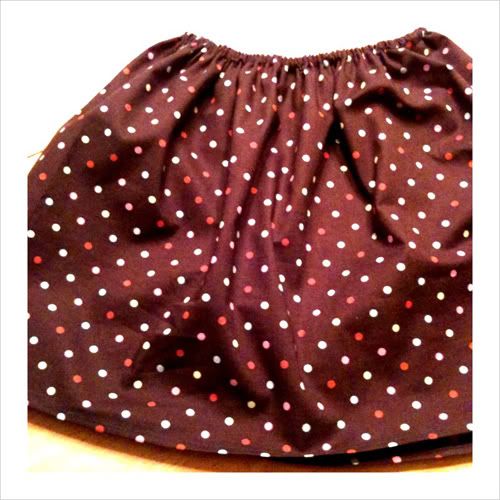
I've been following MADE for a while now, mostly because looking at pretty stuff makes me happy. She has this tutorial that she claims is "a simple skirt." Yeah. Normally, I don't buy that kind of thing at all. People who have mad skills often times say stuff is "simple" or "easy" because for them it is. But I've been looking at the tutorial and thinking, "You know, it really does look kind of simple."

So, today was the day. The day that I finally broke away from making things for the home and instead made something for one of my girls. And guess what? It really is simple!

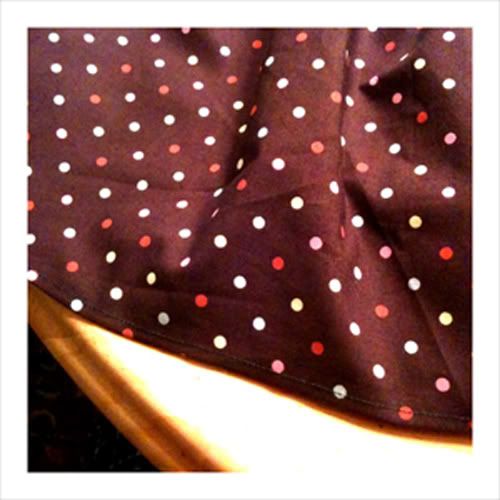
(Please excuse the wrinkles. I have not ironed it yet.)
Evie is pretty unhappy being a model, so this is the best shot I could get with the skirt on. I'm really, REALLY happy with the way this turned out. I foresee a trip to the discount fabric store in my immediate future and a bunch of play skirts for the summer for my children.


Wednesday, June 1, 2011

Weight Watchers Succotash

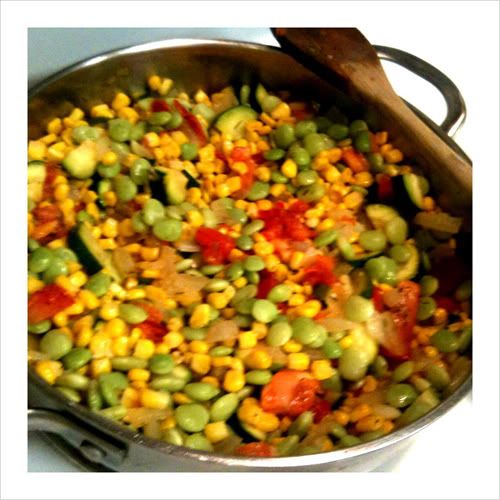
This house certainly isn't a Weight Watchers house, as you can see from the other recipes I've posted, but there are some really good recipes in their cookbook. I find myself incorporating these recipes into our meals quite often. One that I like a lot, particularly during the summer months is their Zucchini and Lima-bean Succotash. It can be served hot or cold. I find that my husband and I like it better hot, while our children like it better cold. But everyone will pretty much eat it any way it's served.

What you will need:

  • 1 10 oz. box of frozen lima beans, thawed and cooked with package directions
  • 1 tbsp of olive oil
  • 1/2 red onion, chopped (although a yellow onion will work just as well)
  • 1 medium sized zucchini
  • 2 small tomatoes, chopped
  • 2 cups of fresh or thawed corn
  • 1 1/2 tsp of fresh thyme (1 tsp if from a spice rack)
  • 1/2 tsp salt
  • 1/8 tsp cayenne
  1. Cook your lima beans, drain them, and set them aside
  2. Heat the olive oil, add the onions, and saute for 4 minutes
  3. Add the zucchini and tomato and cook for 3 minutes
  4. Add everything else and cook through until hot.
I can't think of any other way to describe what this tastes like other than to say it's like a garden in your mouth, especially if you used fresh veggies. It's really good with pork chops or baked chicken.

(Sorry for the fuzzy picture quality. I was holding a six-year-old on my hip.)